Showing posts with label ribbon. Show all posts

Thursday, January 5, 2012

Cute Fabric Necklaces


Here's a quick craft with lots of cute possibilities. Just using bits of fabric, I made these little necklaces that would be easy for kids to make and creative enough for adults to do, too!  I originally thought of using interfacing to make the little pendants, but I wanted to only use supplies that I had on hand to keep it simple and cheap.

All I used to make these little necklaces were the following:

  • fabric
  • stick glue
  • cardstock
  • needle 
  • thin ribbon

1) Choose a fabric that has an interesting design or graphics.  I only used a little piece to make a small necklace, but you can make yours as large or as small as you like.
I bought this fabric because I fell in love with the cute illustrations.

2) Use the glue stick and glue the fabric directly onto a piece of cardstock (an old greeting card or post card would work also, but the design from the card might show through the fabric).  You can glue another cloth on the other side of the card or leave it blank.


3) Once the glue has dried, just cut out the design.  I left a little section on top (this is where you will make a hole to thread the ribbon).


This is view from the back of the pendant.
I glued some cloth to the other side of the cardstock before I cut it,
but  you can also just leave the other side blank.

4)  Use a needle to make a small hole to the top of the pendant.  Use a sharp needle because you'll need to work your way through both the cloth and cardstock.  If you're making a larger pendant, try using a small hole puncher instead.

Measure out a length of thin ribbon  (24"-30"  is a good length to put over your head).  Thread a needle with that piece of ribbon and just sew through!


5) So that the pendant will hang flat, knot the ribbon at the top of the pendant as shown below.
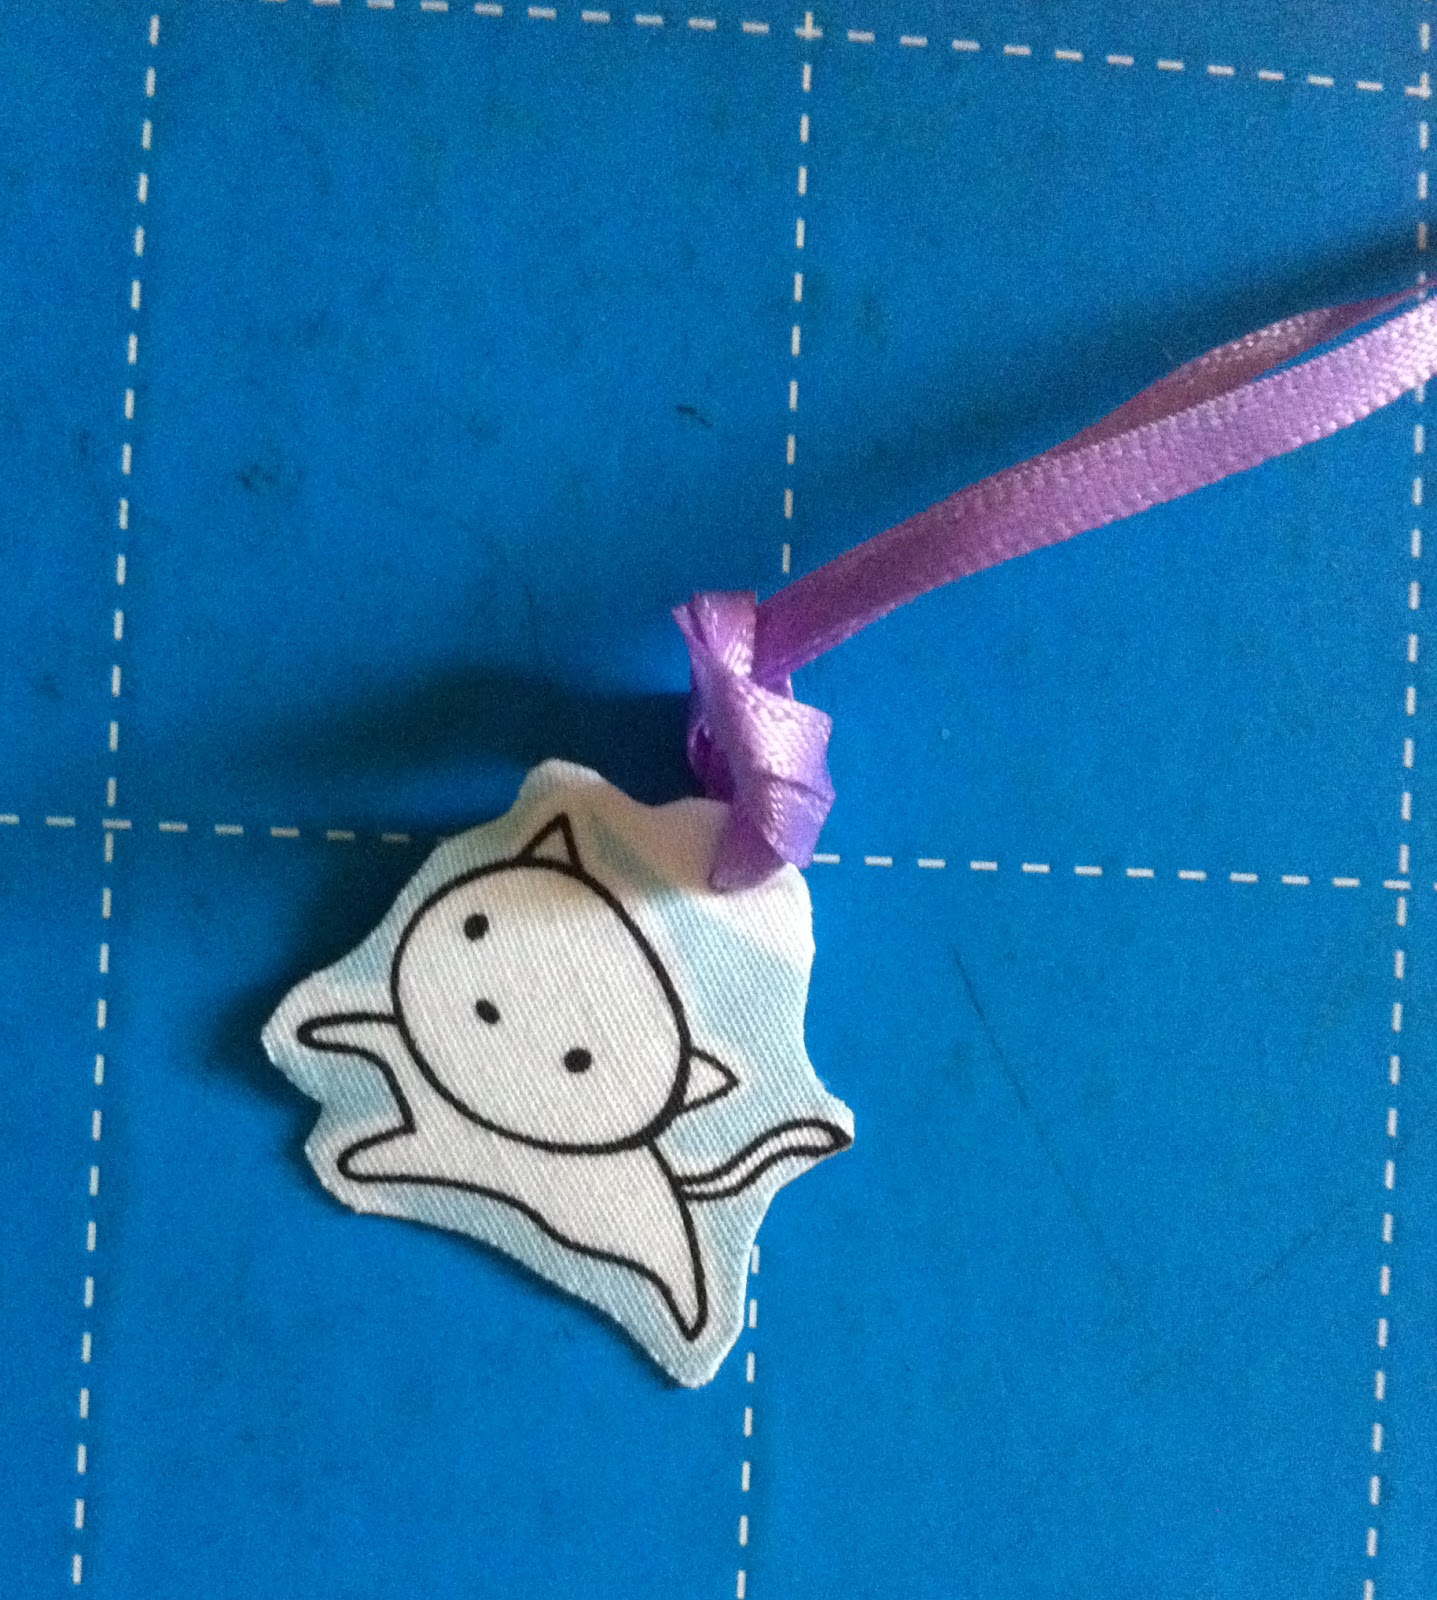

6) Knot the other ends of the ribbon together and put on the necklace.


 You're done!  Now there are lots and lots of other possibilities you could also do such as:

  • Make a bracelet
  • Thread a few more pendants onto the necklace, have 3 hang down the middle or space them out on the necklace. 
  • Use a fabric with an interesting design or solid color and cut out simple shapes like a heart, triangle, etc.
  • Make earrings - get some earring hooks and attach the pendants onto them.
  • Tie a few more ribbons to the pendant and make a bookmark.


Sunday, November 6, 2011

Ribbon Heart Ornament

I have a lot of ribbon and am constantly figuring out ways to use them (other ways to use scrap ribbon).  This little craft is a great way to use some of those ribbon scrap and is quick and easy to do.


For this craft, all you need is the following:


  • cardboard 
  • scissors
  • glue / glue stick
  • ribbon scraps

1.   The first thing you need to do is draw a shape onto a piece of cardboard (you could use a recycled box or the card back of an old note book).  I printed out a heart on my computer and traced the shape on the cardboard. My heart is 5" across, but you can make yours a little smaller or larger; it all depends on the size of cardboard you have.

Trim the cardboard close to the shape, this will help when you glue down the ribbons.


2.  Now, all you have to do is cut small scraps of ribbon and glue them to the opposite side of the drawn shape.  Don't glue anything to the side with the shape, because you'll need that side to guide you when you cut it out.  


Glue the ribbon next to each other on one side of the cardboard
Do not glue anything on the side with the shape. 

3.  Once the glue has dried, cut out the shape - you're almost done!


4.  I thought the cutout needed a little something extra, so I sewed on a button to the top.  I also used this button to attach the ribbon, but you can also just hole punch the cutout to hang a ribbon.  


 Other ideas:

  • You don't have to use a heart shape - cut out a circle, square, etc.
  • Decorate the cutout with buttons, other little trinkets, etc.
  • Cover the back of the shape with craft paper
  • Glue the shape onto a card or place it in a frame

Thursday, November 3, 2011

Cute Scrap Cards


Using just some fabric and paper scraps, I made these really easy and cute cards!

For this project you just need the following:

  • blank cards / card stock / construction paper
  • fabric or paper scraps
  • buttons, ribbons or whatever you want to use to decorate your cards
  • scissors
  • glue


  1. I bought these blank cards, but you could also just cut some card stock to the size of an envelope to create your own card. 
  2. On my blank "canvas", I free hand drew a picture of a little girl.  I suggest practicing on another paper first, or drawing your picture in pencil, then drawing over it in pen.  In some versions, I drew out the whole picture, including the dress, and in other I tried drawing the picture without a dress.

In this drawing, I drew here whole dress.

In this version, I left out her dress.


3.  Now all you have to do is decorate your card.  I cut a scrap of cloth to make her dress, but you can also use paper, felt, etc. to make her dress.  You may need to keep trimming the cloth to fit just right.

Glue down the scrap of cloth to make her dress.

Really, the only thing that limits you on these cards are your imagination. I used ribbon scraps and buttons to decorate my cards.

Other ideas:  
  • add a ribbon border around the card
  • add a background to the card - draw the little girl on a separate piece of paper and cut her out and paste her onto the background
  • change it up - draw a little boy, add a boy and girl together, etc.


Tuesday, October 18, 2011

Ribbon Canvas

I have a lot of cute ribbon in my sewing box.  The only problem is that I never know what to do with them.  This little craft was a great way to use up some of my ribbon scraps. 


For this project I used the following: 

a small canvas (the one I used was 8" x 6")
stapler / staple gun
ribbon scraps (I also used ric rac)
some "little something extra "

The first thing I did was paint the canvas, but it could work with a white background.  Then choose your ribbon and start stapling.  Note - if you are using a regular stapler, you really need to slam it down, so that the staple will go straight into the wood.  This might take a couple of tries.


Staple one end of the ribbon to the frame

 I discovered that I didn't need to pre-measure the ribbon.  All I needed to do was stretch the ribbon to the other side of the canvas, staple it down, then trim the ribbon.


Stretch out the ribbon to the other side of the canvas, staple it down, then trim.
 Keep stapling the ribbon on the canvas until you're done.  However, once I was finished, I just felt it need a little something extra.

Almost done!

So I drew some little kids on card stock and had them peak out of the ribbon.  You could also cut out some small photos for the same effect.  You could keep changing out the pictures and use the canvas like a little memo board.


Saturday, September 17, 2011

Trinket Wreath


For years I've collected patches, buttons and little trinkets with every intention to use them in some fabulous craft project.  Well, one of the nice things about starting such a collection is that eventually you have a little treasure trove of stuff to choose from when the time is right. 

So, I started with

1 - 9 1/2" styrofoam ring
5 yards - 1 1/2" ribbon
2 - T pins
Pearl-head pins 

First I attached the ribbon to the wreath with a T-pin and just started tightly wrapping the wreath until the whole thing was covered.  I ended the wrapping by using another T-pin to hold the end of the ribbon tight.  (I wish I took pictures of the whole process...oh well, next time.)

The fun part is pinning little trinket around the wreath with the pearl head pins.  It's kind of an organic craft piece because I can just take down/add stuff whenever I like. Pretty happy with the outcome.